| This article is within the scope of the Portal Project, a collaborative effort to improve articles related to Portal and Portal 2. See the project page for more details about the article status. |
| Gameplay tactics, trivia and walkthrough information should not be included, unless they are related to the plot; instead add it to its respective chapter article. |
| You are welcome to assist in its construction by editing it as well. However, do not make major changes before consulting the community, since the related editors probably set up guidelines for the page construction. |
| You can help by correcting spelling and grammar, removing factual errors, rewriting sections to ensure they are clear and concise, and moving some elements when appropriate. Visit our Cleanup Project for more details and, please, notify the administrators before removing this template. |
This article describes the Portal storyline, chapter by chapter.
Portal is set in the Half-Life universe,[1][2] and is presented to the player through the game's audio messages and visual elements seen throughout the game. Additional elements of the story's background are developed from the fictional Aperture Science website created by Valve for the game.
Test Chamber 00[]

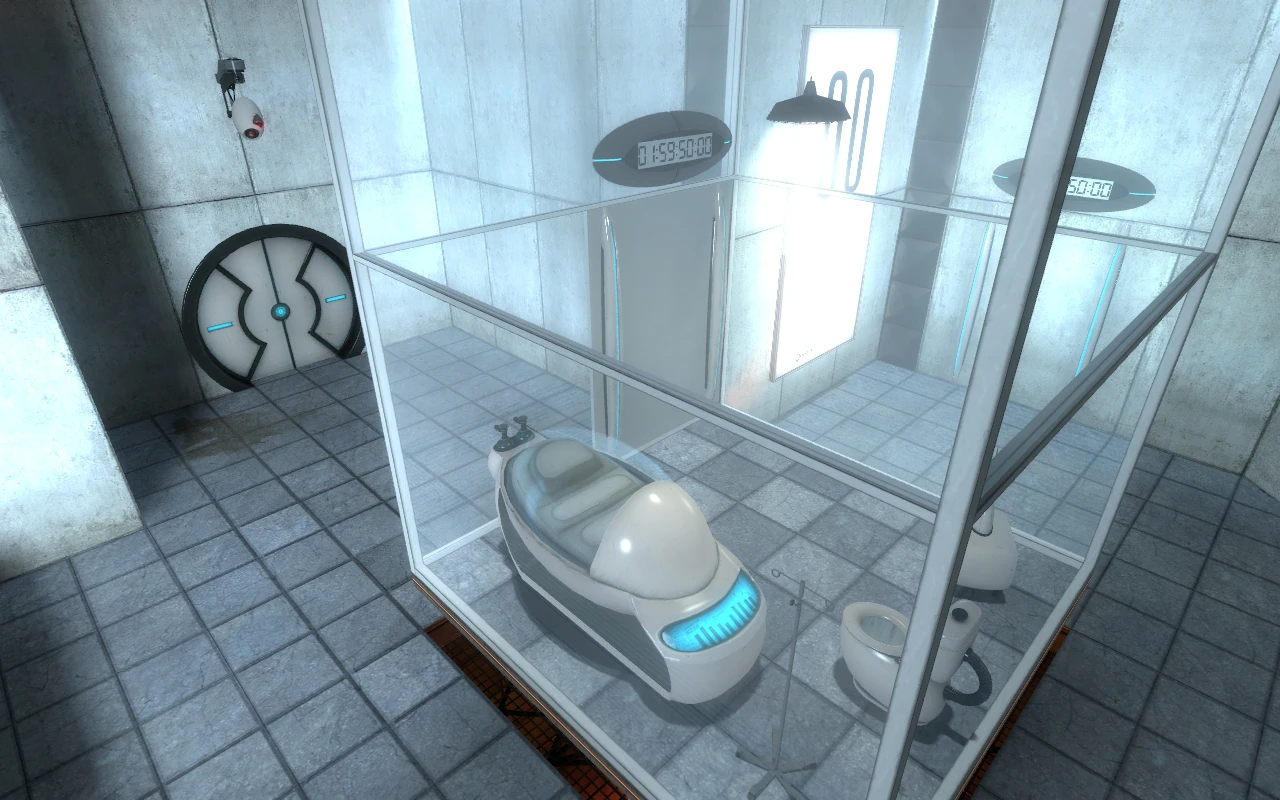
Test Chamber 00.


Chell, the protagonist of the game.
Chell wakes up in a so-called Relaxation Vault - with only a small table on which lays a mug, radio, and a clipboard listing test chamber hazards, as well as a toilet and a stasis bed of some kind - and is welcomed "again" by a Computerized Voice which states that "her specimen has been processed" and that "we are now ready to begin the test proper."
Chell then proceeds through the first area and is introduced to Buttons, Cubes, and the Vital Apparatus Vents, as well as the Material Emancipation Grills.
Trivia[]
- The radio inside of Chell's chamber plays an latin-style instrumental version of "Still Alive."[1]
- During the verbal introduction, GLaDOS inexplicably blurts a bad Spanish phrase which roughly translates as "Please refrain from failing. Thank you very much for failing. Thank you." The meaning behind this doesn't seem comprehensible.
- It is possible to lock yourself in this room and GLaDOS will do nothing to help. To do this you need to put the Aperture Science Weighted Storage Cube next to the sign that is beside the door. Then, you need to jump on the sign and put the Weighted Storage Cube on the camera. Jump off and you're stuck.
- Throughout the early stages of the game, the voice only refers to "us" or "we," never saying "I," as though it were speaking for the Enrichment Center's long gone employees as a whole. This comes into significance in the later levels when the entity seems to display more independent activity.
Behind the scenes[]
- The portal was deliberately introduced in this stage in a way that confirms that they lead to another location on the same planet, rather than another universe, as established in Developer Commentary.[1]
Test Chamber 01[]

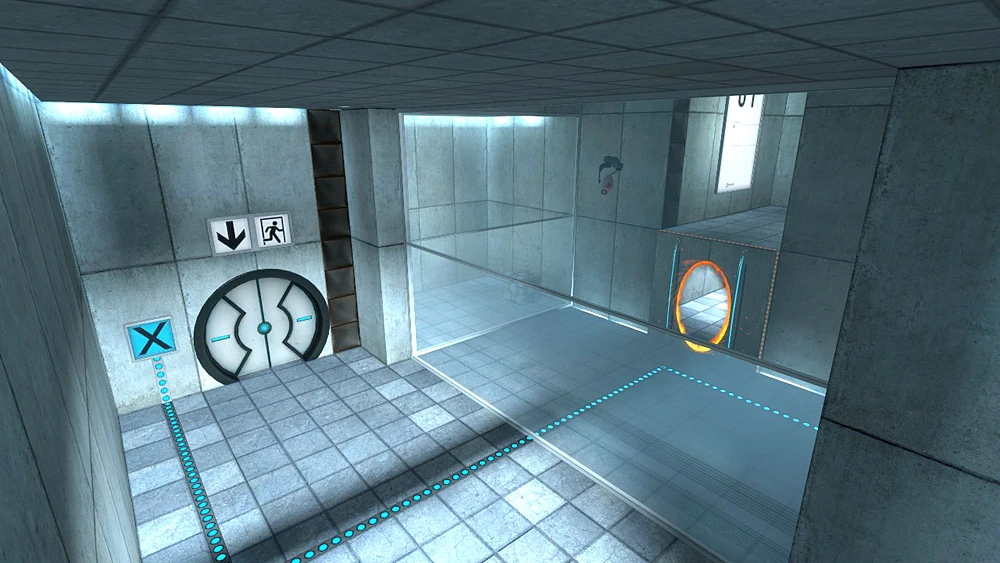
Test Chamber 01.
Here the player reviews how to use buttons, storage cubes, and portals.
Behind the scenes[]
- This level is designed to firmly establish the mechanics of the Portal Device in the player's mind so that they would be familiar with the basic concept of the game.[1]
- When the test chamber reappears in Portal 2, the portal opens using buttons rather than generating automatically.
Test Chamber 02[]
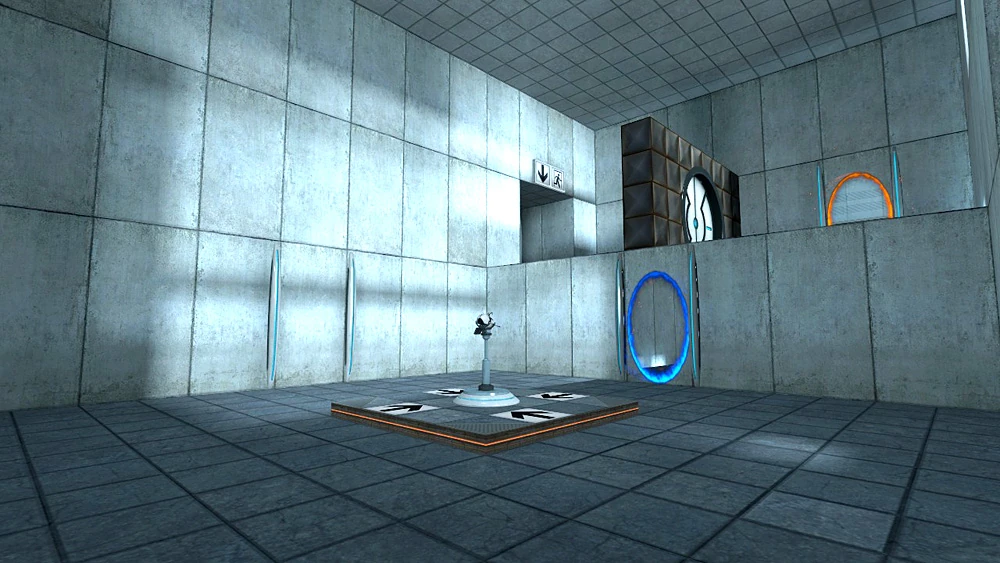
Test Chamber 02.
As the tests progress she eventually acquires the first "portion" of the Aperture Science Handheld Portal Device, allowing her to place blue portals but not orange ones.
Test Chamber 03[]

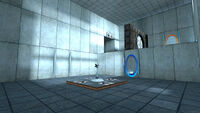
Test Chamber 03.
A simple puzzle using the newly acquired portal gun.
Behind the scenes[]
- This level was intentionally designed to ensure players realize that both portals can be used as entrances and exits.[1]
Test Chamber 04[]

Test Chamber 04.
More buttons and boxes. At the end of the chamber, GLaDOS states that the next test chamber will not be monitored, as "part of a required test protocol."
Behind the scenes[]
- In the Portal 2 version of this chamber, the Announcer (which is not featured in Portal 1,) plays "smooth jazz," but is silent in Portal 1.
Test Chamber 05[]
Test Chamber 05.
This chamber contains two boxes and two buttons. GLaDOS reveals that "our previous statement suggesting that we would not monitor this chamber was an outright fabrication." This begins to hint at her malicious behavior. She then says that "We will stop enhancing the truth, in 3, 2 -" but is cut off before she can finish, effectively nullifying the statement.
Trivia[]
- It is possible, in both Portal and Portal 2, to get trapped in this chamber. This is accomplished by finishing the puzzle and shooting a portal into the next room, then stacking the cubes and camera to reach the orange portal, and throwing a cube into there. If the player then reshoots a blue portal, they are now trapped, as there is a closed door with no way to open it (a cube is now behind the door), and no portals on the other side. This will cause GLaDOS to scold Chell for her misbehavior with a line she uses in the post-escape levels.
- If done in Portal 2, both cubes are "fizzled" as soon as one cube enters the portal and the Announcer congratulates Chell for trapping herself before opening the door.
Test Chamber 06[]

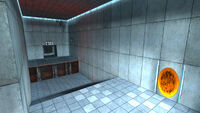
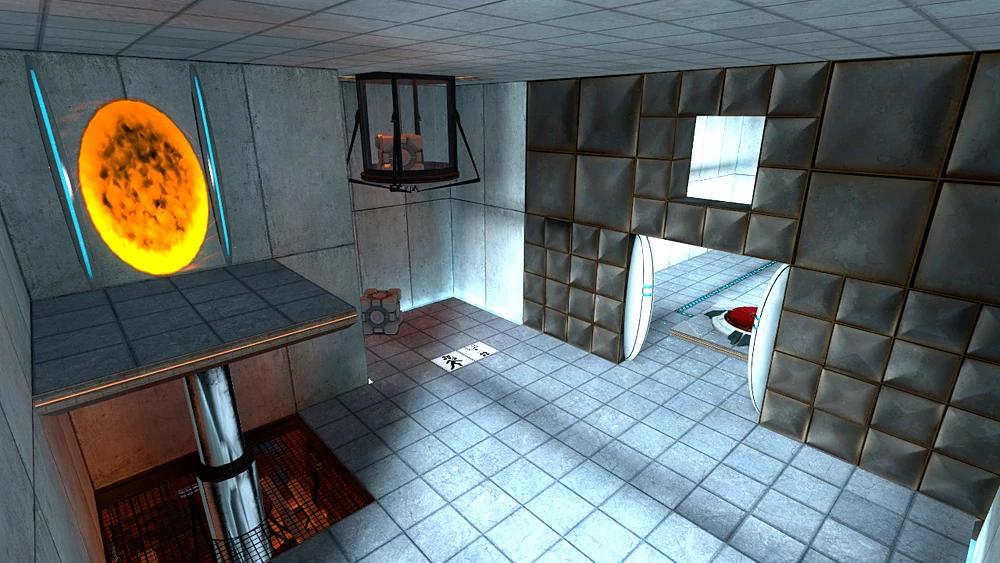
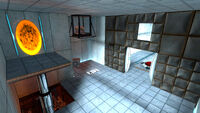
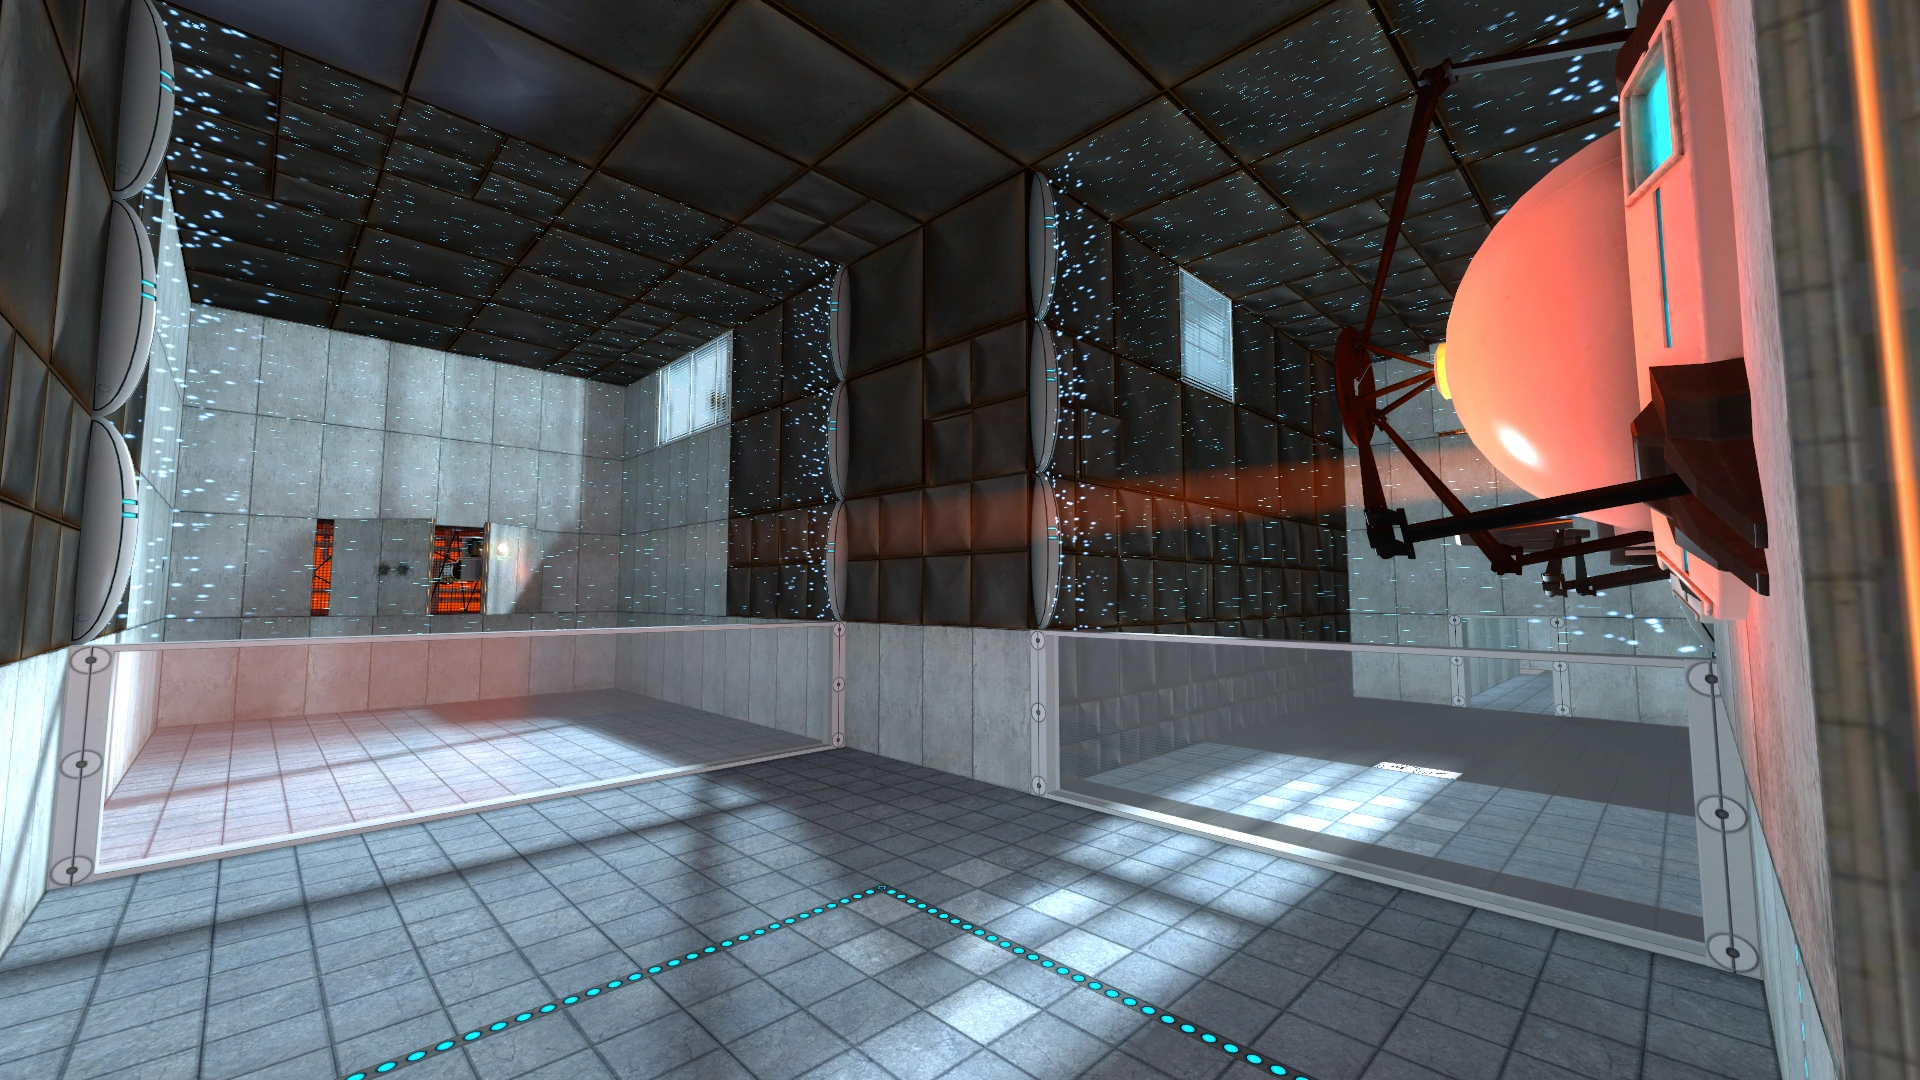
Test Chamber 06.
In this chamber, the Aperture Science High Energy Pellet is introduced. Also introduced are brown walls that do not allow portals to be created on them. These are seen commonly throughout the rest of the game.
Test Chamber 07[]

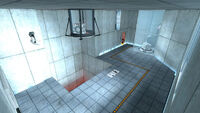
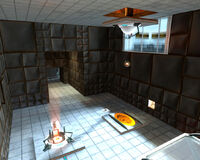
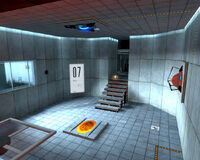
Test Chamber 07.
More energy pellets, also moving platforms known as "Unstationary Scaffolds" are introduced.
Test Chamber 08[]

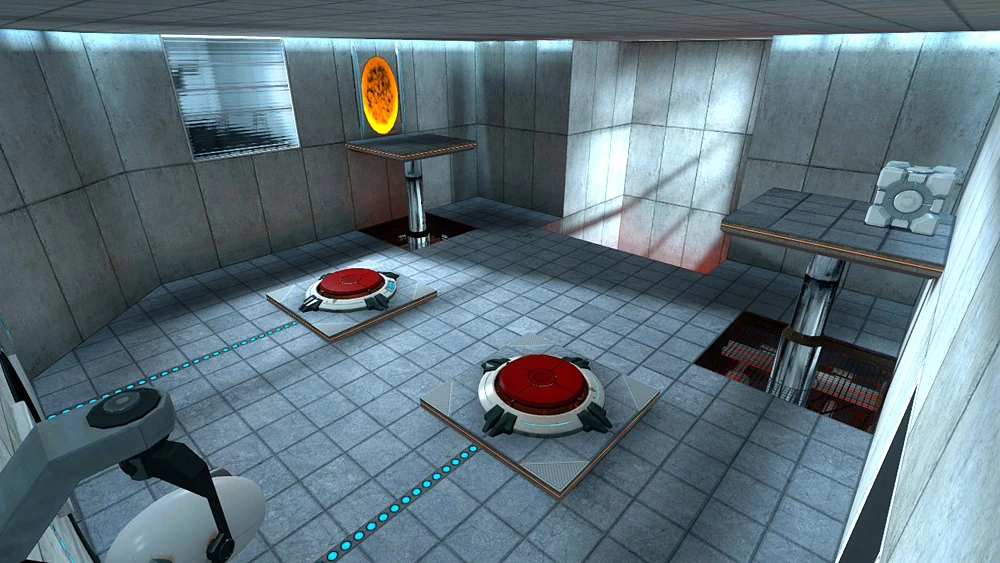
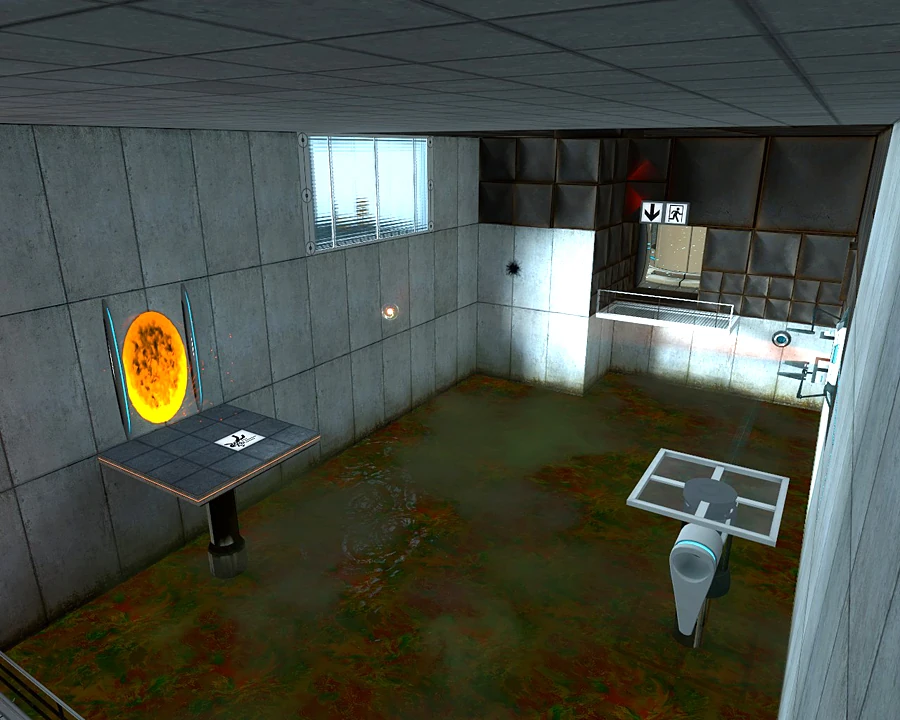
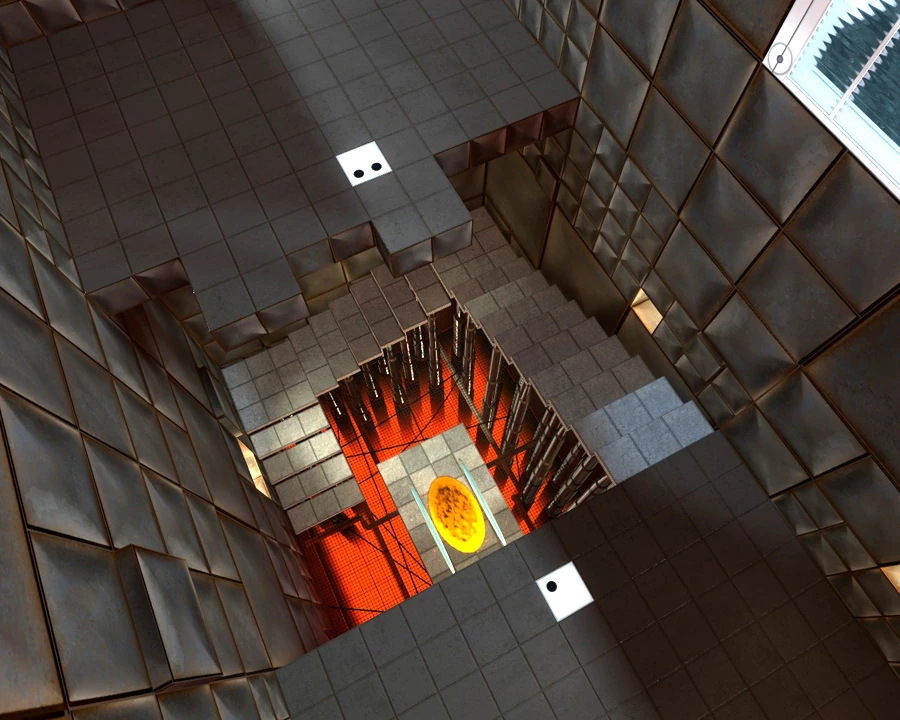
Test Chamber 08.
Acid pits are introduced in combination with Unstationary Scaffolds and energy pellets.
Behind the scenes[]
- This was intended to be the first test chamber to feature energy pellets. Playtesters were often frustrated, however, as too many new mechanics were presented at once. Because of this, the two simpler test chambers preceding this one were implemented to introduce the mechanics more gradually.[1]
Test Chamber 09[]
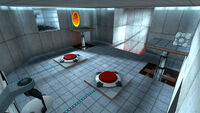
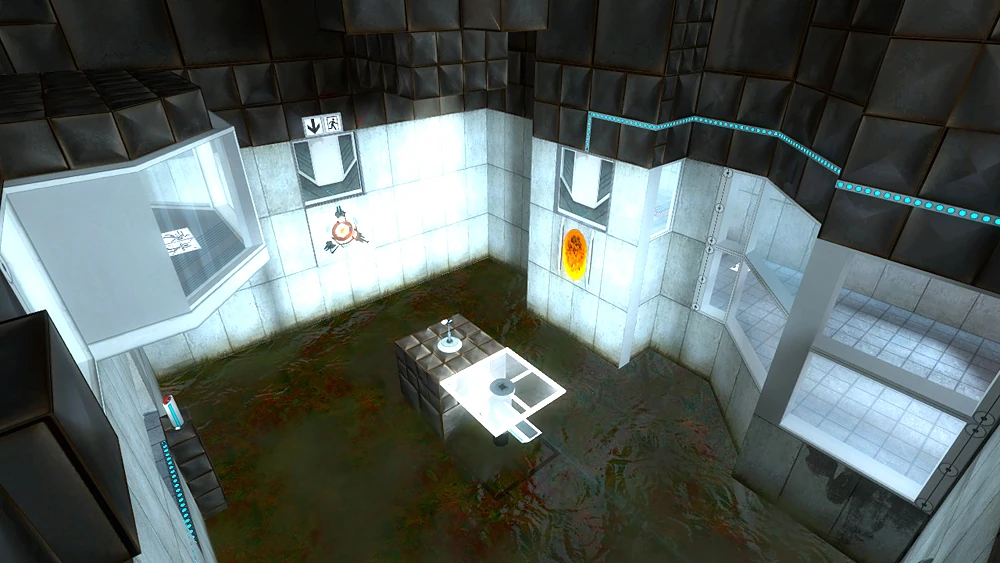
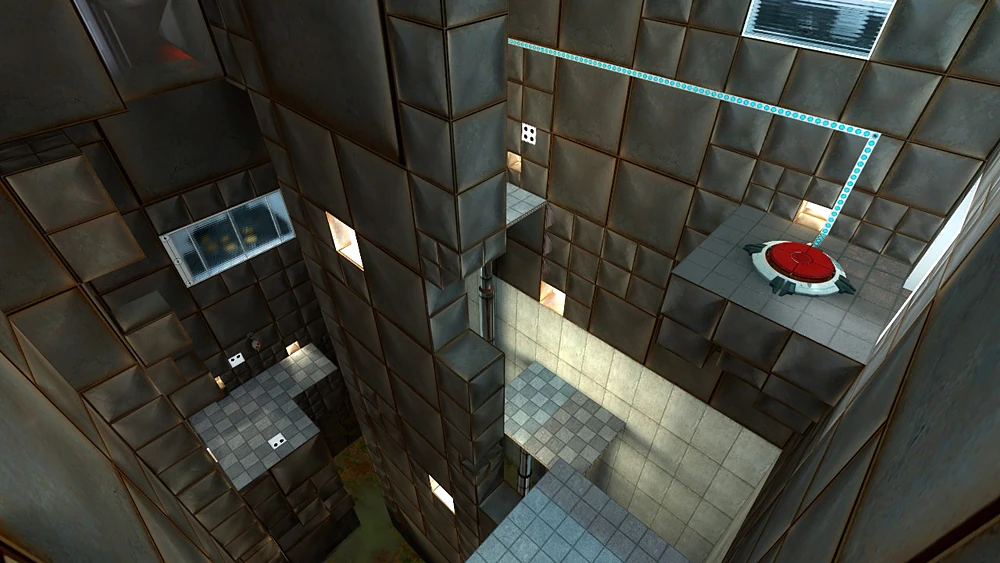
Test Chamber 09.
A so-called "impossible" test chamber utilizing buttons and cubes. The chamber does not mark the introduction of Emancipation Grills but rather the introduction of Emancipation Grills as a part of the puzzles themselves rather than simply being a part of the exit. This also teaches the player that going through an Emancipation Grill will close all existing portals if they did not realize previously.
Trivia[]
- Later in the game, this chamber is revisited illicitly and must be solved using an alternative method as the Storage Cube is no longer available[3] and the player has the ability to use both portals rather than one.
- This chamber, along with 14, can be seen from an observation room later on in the escape levels.
Test Chamber 10[]
Test Chamber 10.
A new concept is introduced known as flinging. As GLaDOS says: "Momentum, a function of mass and velocity, is conserved between portals. In layman's terms, speedy thing goes in, speedy thing comes out," This is said to both explain the concept and insult Chell.
Behind the scenes[]
- The concept of flinging was one of the hardest concepts for the developers to convey causing the test chamber to go through more iterations than almost any of the other test chambers.[1]
Test Chamber 11[]

The upgraded ASHPD Test Chamber 11.
Chell acquires the full Aperture Science Handheld Portal Device allowing her to place both blue and orange portals.
Test Chamber 12[]
Test Chamber 12.
More catapulting, now with more freedom allowed through the use of the upgraded Portal Device.
Behind the scenes[]
- This chamber was designed to re-train the player in using the catapulting maneuver now that players could place two portals at once, because they often forgot or didn't understand the concept.[1]
Test Chamber 13[]
Test Chamber 13.
The first "real" challenge. This chamber combines buttons, boxes, energy pellets and Unstationary Scaffolds.
Trivia[]
- A line from GLaDOS subtly foreshadows her murderous intentions. After telling Chell that she can no longer lie to her and rather than stating that anything important happens at the end of the experiment, such as her being released or rewarded, GLaDOS simply says, "When the testing is over, you will be...missed." (Though the phrase could at first be interpreted in a lighter sense.)
- This is the first chamber available for challenges of least portals, least steps, and least time. Advanced versions were made from this chamber to 18.
Behind the scenes[]
- According to Valve developers, the previous stages were constructed to introduce the basic concepts of Portal in small, easily-understandable segments, and this stage collects them into one place as a sort of 'final review'.[1]
Test Chamber 14[]
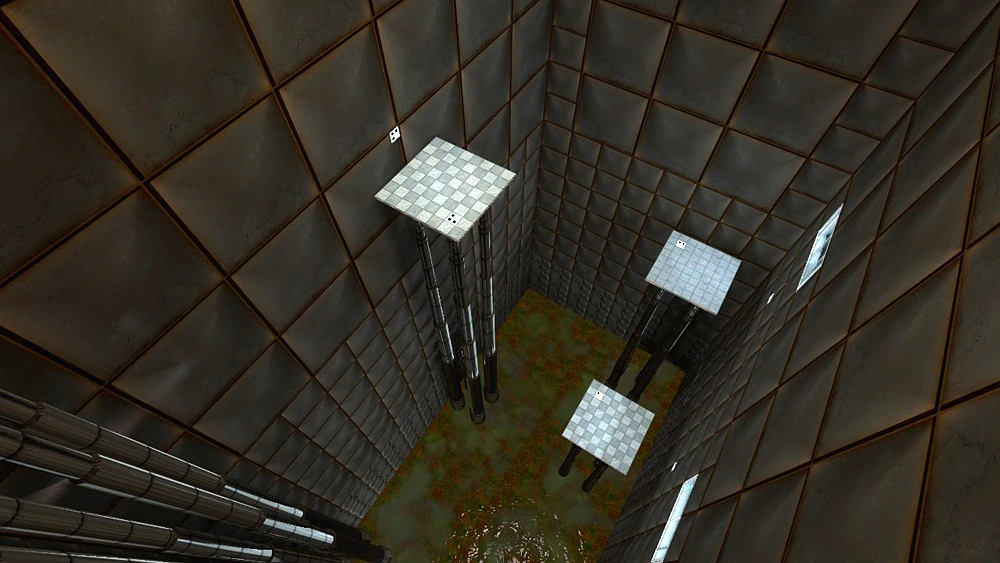
Test Chamber 14.
Another challenge. This chamber combines buttons, boxes, energy pellets, Unstationary Scaffolds (moving vertically in this case), and acid pits.
Trivia[]
- This chamber can be completed without even leaving the first room, omitting most of the level. The shortcut was originally unintentional, but after a playtester found it, Valve decided to leave it in, because it was just as difficult to figure out as the proper solution. They then added it as a challenge, requiring you to complete the chamber using only 2 portals to get the Gold, which is impossible using the ‘fair’ method. To do this, you must first place a portal on the floor next to the Victory Lift, then ascend the stairs on your left. At the top, turn around and look down. When the stairs have fully retracted again, fire the other portal onto the surface the stairs came from. Jump down and you will emerge through the portal by the lift. This may require several tries, as it is often hard to turn around and land on the lift itself, due to the fact that the first portal will most likely face you the wrong direction when exiting it. To get around this, if you stand under the Victory Lift and shoot the portal in the same place, it will now be upside-down causing you to be propelled in the correct direction. Once you are on, simply walk through the Emancipation Grill and into the elevator.
- The advanced version of this chamber has a portal-proof floor forcing the player to use the intended solution.
- This chamber, along with 09, can be seen from an observation room later on in the escape levels.
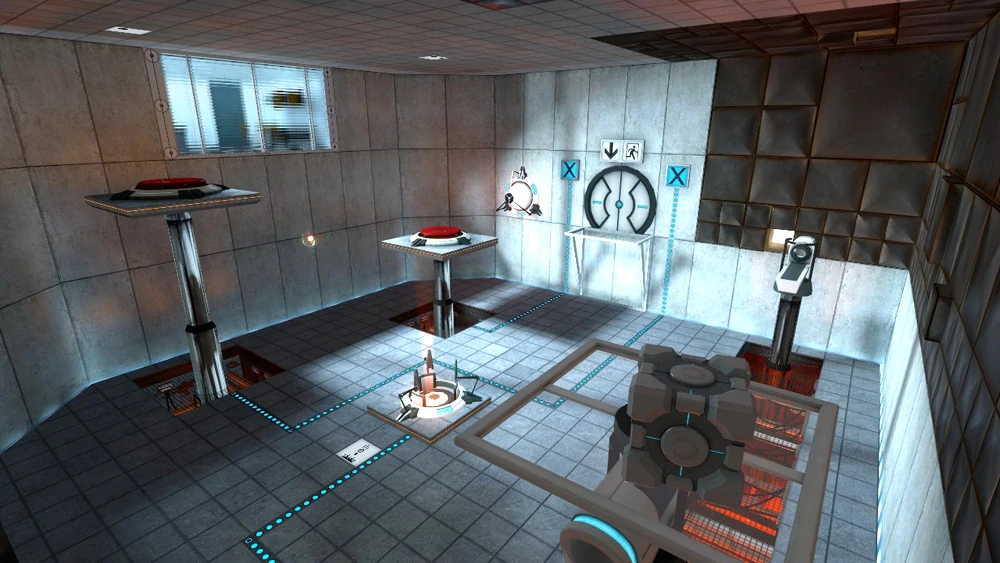
Test Chamber 15[]
Test Chamber 15.
This test chamber is more extensive, split into four or five different segments, and puts everything the player has learned to the test. It involves the use of the Emancipation Grill in similar fashion to Test Chamber 09, most of the time requiring players to use a tricky portal maneuver known as the "double fling", placing a portal below them just as they fall to gain enough momentum and cross over barricades. This is done several times to navigate through the test chamber.

Ditto
Trivia[]
- This is the very first chamber in which a reward is mentioned: "Cake and grief counseling will be available at the conclusion of the test."
Test Chamber 16[]
This level introduces turrets, three-foot-tall gun-toting tripods that shoot when they see a target or are tipped over.
In this chamber the player can find the first Rattman den, hinting at the reality of the tests as well as the fact that there possibly are other people still trapped in the building.
GLaDOS stays true to her guise as a prerecorded voice by telling an "android" that "android hell is a real place where you will be sent at the first sign of defiance" to trick the player more into thinking that she is only a prerecorded computer voice.
")
")
")
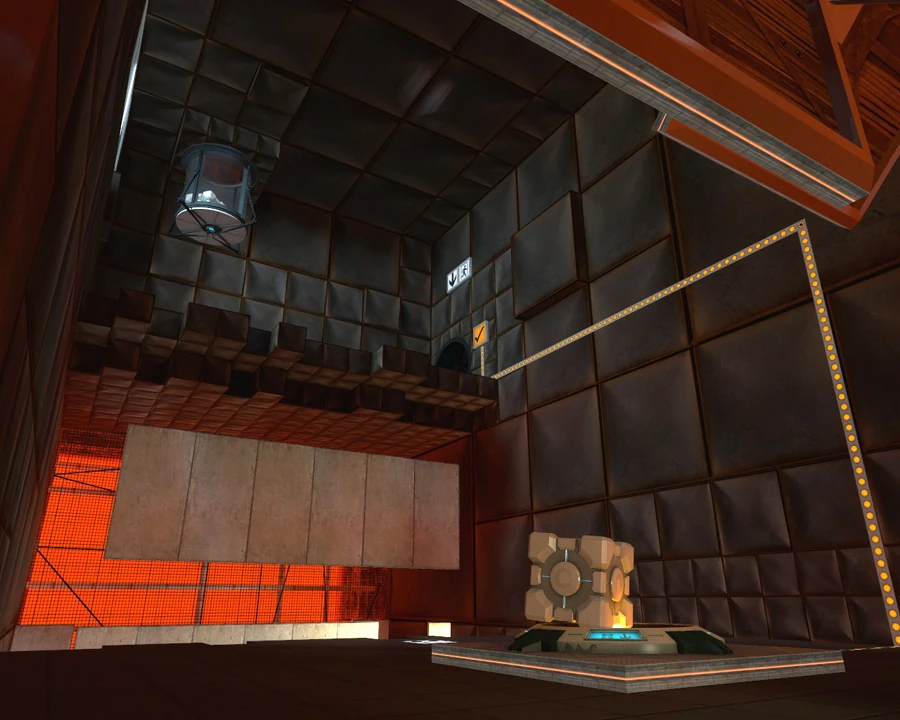
Test Chamber 17[]
This chamber is notable because of the introduction of another character: the Companion Cube. During this chapter, GLaDOS wants Chell to become emotionally attached to the cube. At the end of the chamber, Chell is forced to "euthanize," or more bluntly, incinerate the Companion Cube.
Trivia[]
- This chamber was originally intended to be a long level called the "cube run," in which players would carry the cube through a number of challenges. However, playtesters often left the cube behind, so the developers put a heart on it and gave GLaDOS several lines talking about the Cube to express its' importance.[1]
- Another Rattmann room can be found hidden in this chamber, filled with writing and photographs indicating that Rattmann had become obsessed with the cube in some way, developing a terrible hatred for GLaDOS after its destruction.
")
")
")
Test Chamber 18[]

Test Chamber 18.
Ditto.
This is often considered the hardest chamber, requiring more use of momentum and timing. Everything the player has learned is added in this chamber, along with turrets. At the end of the chamber, GLaDOS says that "The next test requires exposure to uninsulated electrical parts, that may be dangerous under certain conditions," a line which becomes relevant later in the game.
Trivia[]
- At the beginning of the chamber, there is an audio glitch: GLaDOS was supposed to say "You will be baked (garbled) cake," as indicated by the subtitles. However, the in-game quote is not censored: "You will be baked, and then there will be cake." This is most likely a development oversight, or the distortion is not great enough. This quote also foreshadows GLaDOS' betrayal of Chell.
Test Chamber 19[]
The last chamber. A simple energy pellet trick is required followed by a time-limited sequence on an Unstationary Scaffold.
As the platform rounds a corner, awaiting the player is not the long-awaited cake but rather a large incinerator. Chell escapes through use of portals, much to GLaDOS' apparent displeasure; she briefly babbles electronically. She stutters on her "I," revealing her true nature, before regaining control and attempting, unsuccessfully, to convince Chell that this was "the final test, where we pretended we were going to murder you." Chell escapes into the bowels of the Enrichment Center.
")
")
")
")
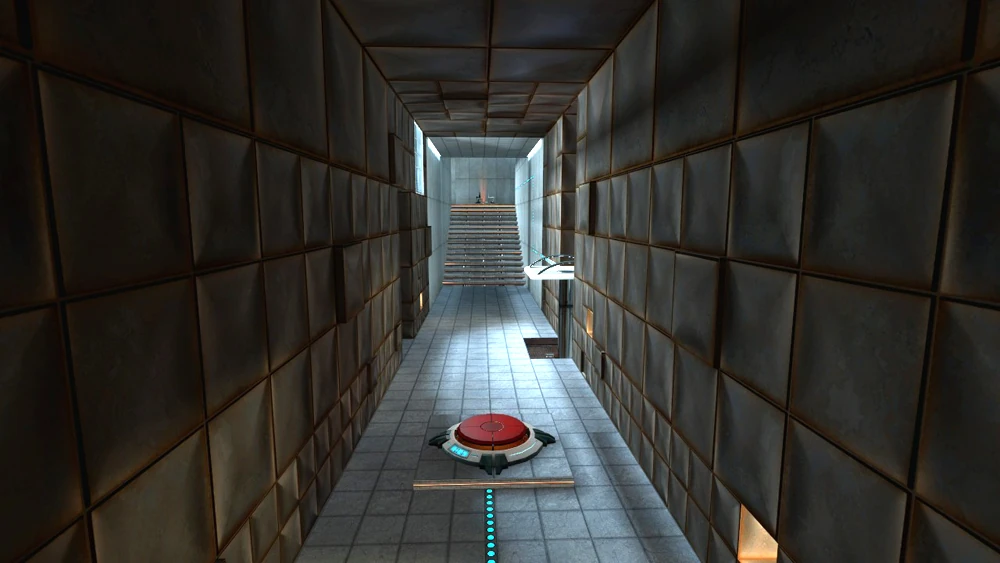
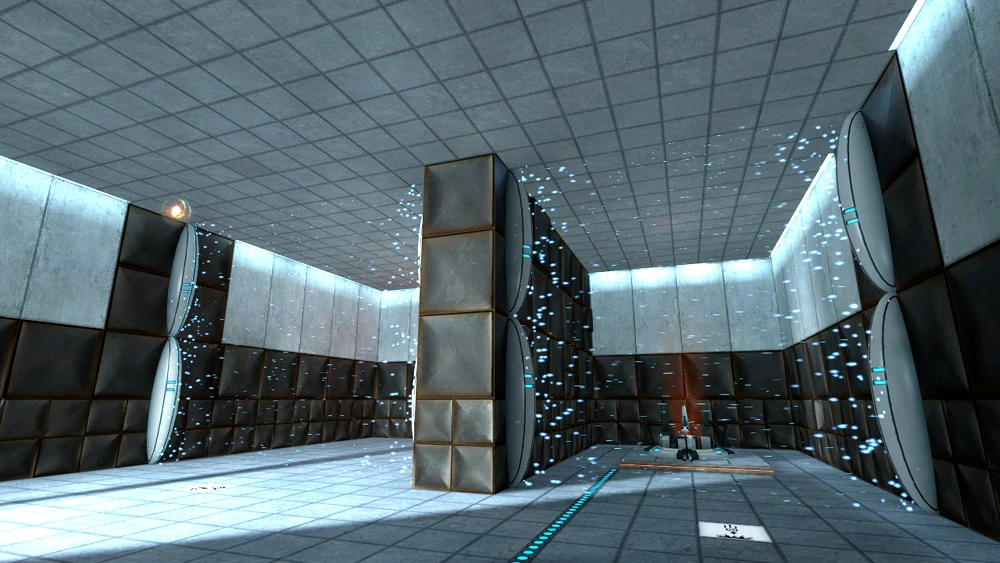
Escape[]
After Test Chamber 19, Chell is "sent to receive her cake," but is plunged into a furnace (to "be baked," as GLaDOS had accidentally admitted numerous previous times, with glitches that resemble Freudian slips). She manages to escape into a maintenance area and GLaDOS begins to show her agitation, claiming first that it was the real final test, and then that it was just a joke. She tells Chell that there will be a party held in her honor and urges her to "assume the party escort submission position" on the floor. Chell flees into the facility's numerous maintenance areas as GLaDOS becomes increasingly agitated. Roughly the second half of the game continues behind the walls of previous stages and within the offices of Aperture Labs as Chell follows eerie notes written on the walls and uses the ASHPD to work her way through the facility.
At first, GLaDOS attempts to calmly dissuade Chell from straying from the test area. But as Chell reaches a series of engine rooms, she falsely claims that the party has started without her. She continues negotiating with Chell, who continues despite the pleading. GLaDOS finally begins deploying Turrets and a Rocket Sentry to hinder Chell's progress.
Trivia[]
- This section of the game does not bear any official title. "Escape" is the map prefix, and the game files refer to "Behind the Scenes," or "BTS." Within the game itself it's listed as part of Test Chamber 19.
- The Nice Little Jellyfish is an Easter egg which can be found in this level. It is located in a small office room overlooking Test Chamber 09 that is found soon after the fan blades in the maintenance areas of the facility. It is a faint, pencil-drawn image on the wall depicting a smiling jellyfish with the text "nice little jellyfish" under it.
- The Big Bad Jellyfish is an Easter egg which can be found in this level. It is in a side room on the corridor just before you find the first Rocket Sentry seen in the game. It is a pencil drawing on the wall of an angry looking jellyfish with the text "THE BIG BAD Jellyfish WANTED" under it. Both Jellyfish are speculated to have been drawn by Doug Rattmann but there has been no confirmation of this.
- In the meeting room behind the window adjacent to the "nice little jellyfish" Easter egg, there appears to be a PowerPoint presentation titled Competing with BLACK MESA.
- GLaDOS' announcements during this part of the game may be loosely reminiscent of the Nihilanth's telepathic messages with Gordon Freeman at the end of Half-Life.
Central AI Chamber[]
Finally, Chell confronts GLaDOS, a large machine hanging in a cylindrical shaft. (Near the entrance to the room is a desk with a red phone. The developers have stated that there was someone stationed at the red phone in case GLaDOS showed signs of independent thought; apparently, they weren't able to make the call, as the wires were cut.)[1] As Chell begins to destroy critical components of the GLaDOS also known as Personality Cores, GLaDOS' personality degenerates. During this confrontation, GLaDOS makes several comments that something has gone wrong in the outside world and that she is the only thing keeping the facility from "them," possibly the Combine, or something else entirely. After Chell destroys the last Core, some form of large portal opens above them, tearing apart GLaDOS and sucking in Chell. This occurs because GLaDOS cannot function without her cores.
Trivia[]
- GLaDOS' destruction resembles the death of the Nihilanth, as they both float up into an ominous white glow whilst pulling the protagonist up into the air along with them.
- It is possible to avoid being sucked up through the portal with GLaDOS by immediately running toward the entrance of her chamber when the turbulence begins or by hiding in the bunker that contains the button to the Incinerator. This, however, does not affect the final cutscene.
Credits[]
Chell wakes up at the Enrichment Center's gate, among the wreckage of GLaDOS, as debris rains down from the sky. An update designed to build hype for Portal 2 retconned the ending, adding the Party Escort Bot thanking Chell for assuming the party escort submission position as it drags her back inside the facility.
The final cutscene twists and turns the camera through various areas of the Enrichment Center eventually stopping in a dark room in which sits the promised cake surrounded by various metallic glowing orange spheres similar to those that were installed in GLaDOS. Some of the eyes activate and a robotic arm puts the candle out. The credits roll as GLaDOS gives a concluding report about Chell in the form of the song "Still Alive." It reveals that GLaDOS enjoys the companionship of the test subjects and that she felt a particular fondness for Chell. The song seems to hint that GLaDOS is, indeed, still alive.
When the credits and song end, the player is greeted with a new background: a cake with a lit candle on a desk next to a radio on a table as well as the same red phone (which has its buttons shaped like the Aperture logo). If the background is left alone for long enough, it eventually pans to show the Companion Cube on the floor to the right side of the desk.
Trivia[]
- Test Chambers 00, 01, 02, 03, 04, 05, 06, 07, 19 and the Relaxation Vault make an appearance in Portal 2, however, Test Chamber 06 is modified, Test Chambers 02 and 07 aren't technically "solved" and Test Chamber 19 is navigated backward.
")
")
")
")
")
")
References[]
- ↑ 1.00 1.01 1.02 1.03 1.04 1.05 1.06 1.07 1.08 1.09 1.10 Portal commentary Cite error: Invalid
<ref>tag; name "Pcom" defined multiple times with different content - ↑ Ocampo, Jason (2006-07-13). Half-Life 2: Episode Two - The Return of Team Fortress 2 and Other Surprises. GameSpot. Retrieved on 2006-07-21.
- ↑ Portal Chapter: Escape
External links[]
- Portal Walkthrough on Mahalo
| General | Timeline of the Half-Life universe |
|---|---|
| Half-Life story arc | Half-Life (Opposing Force • Blue Shift • Decay) |
| Half-Life 2 story arc | Original storyline • Half-Life 2 (Episode One • Episode Two) |
| Portal story arc | Portal • Portal 2 |
| Alyx Vance's story arc | Half-Life: Alyx |